# Starting a Project
Before we begin, you should use agoric --version to double-check that you have installed the Agoric SDK.
If it is available, then you successfully installed the Agoric SDK. If not, then please do so before continuing.
After you've installed the Agoric SDK, then you're ready for your first Agoric Dapp (decentralized application) by continuing the instructions below.
We'll be running three terminal windows. See below:
# Terminal 1: simulated blockchain and "solo" client# Terminal 2: contract interaction# Terminal 3: web user interface
Watch: Prepare Your Agoric Environment (November 2020)
This presentation includes starting a project, but note an outdated detail:
- In the REPL
x~.go()tildot support has been postponed; useE(x).go()instead.
# Initialize the Default Dapp Template
The following section will explain how to initialize the default Dapp template, install the Agoric SDK into the Dapp template, and then launch the Agoric Solo Client and Simulated Blockchain.
Use the Agoric CLI to fetch from a Dapp template
and put it in a directory not located in your agoric-sdk clone. We named the directory "demo", but you can name the folder whatever you like.
# Terminal 1
# Don't use your agoric-sdk as the parent of the demo directory.
cd $HOME
agoric init --dapp-template dapp-card-store demo # use `agoric init --dapp-template dapp-card-store $DIRNAME` with any name you like
cd demo
agoric install community-dev # will take a minute to install all dependencies
agoric start --verbose --reset # `agoric start --reset` to start over
Learn more about the available Dapp templates.
Mac Dev Tools
On a Mac, you must first install Xcode (opens new window)
Leave this process and its logs running in its own terminal window.
# Open the Agoric Wallet and REPL
# Terminal 2
cd demo
agoric open --repl
This should automatically open http://127.0.0.1:8000 (opens new window) in a new browser window or tab.
To begin using the wallet, click the "Connect Solo Wallet" button.
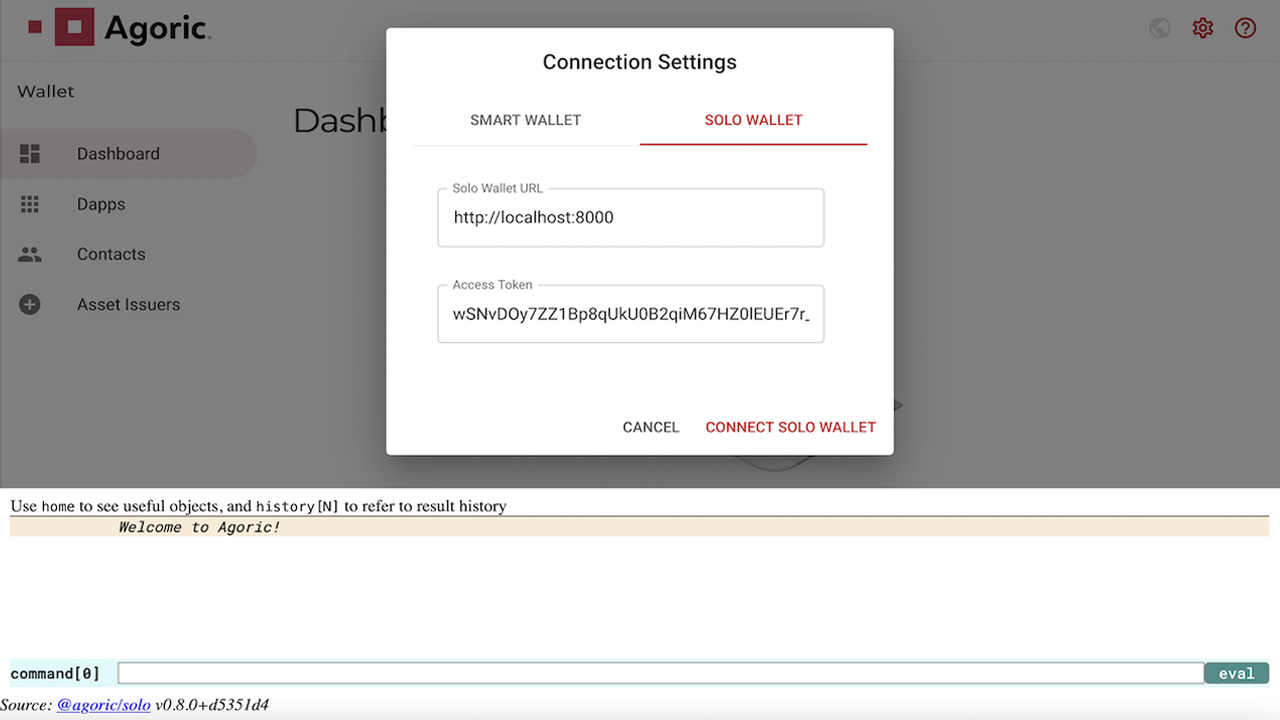
After your solo wallet is connected, then you're ready to deploy the contract and API.
# Deploy the Contract and API
In our second terminal, deploy the contract to the simulated blockchain and the API to the solo client.
# Terminal 2
cd demo # if not already there
agoric deploy ./contract/deploy.js
agoric deploy ./api/deploy.js
We'll cover deploying smart contracts in detail later.
# Start the Dapp User Interface
The web user interface communicates with the API in the solo client as well as the wallet.
# Terminal 3
cd demo # if not already there
cd ui && yarn start
Leave this running in its own terminal window and visit http://localhost:3000 (opens new window) in a web browser.
# Connect the Dapp to the Agoric Wallet
- Once here, you will be asked to enable the Dapp in your Agoric wallet.
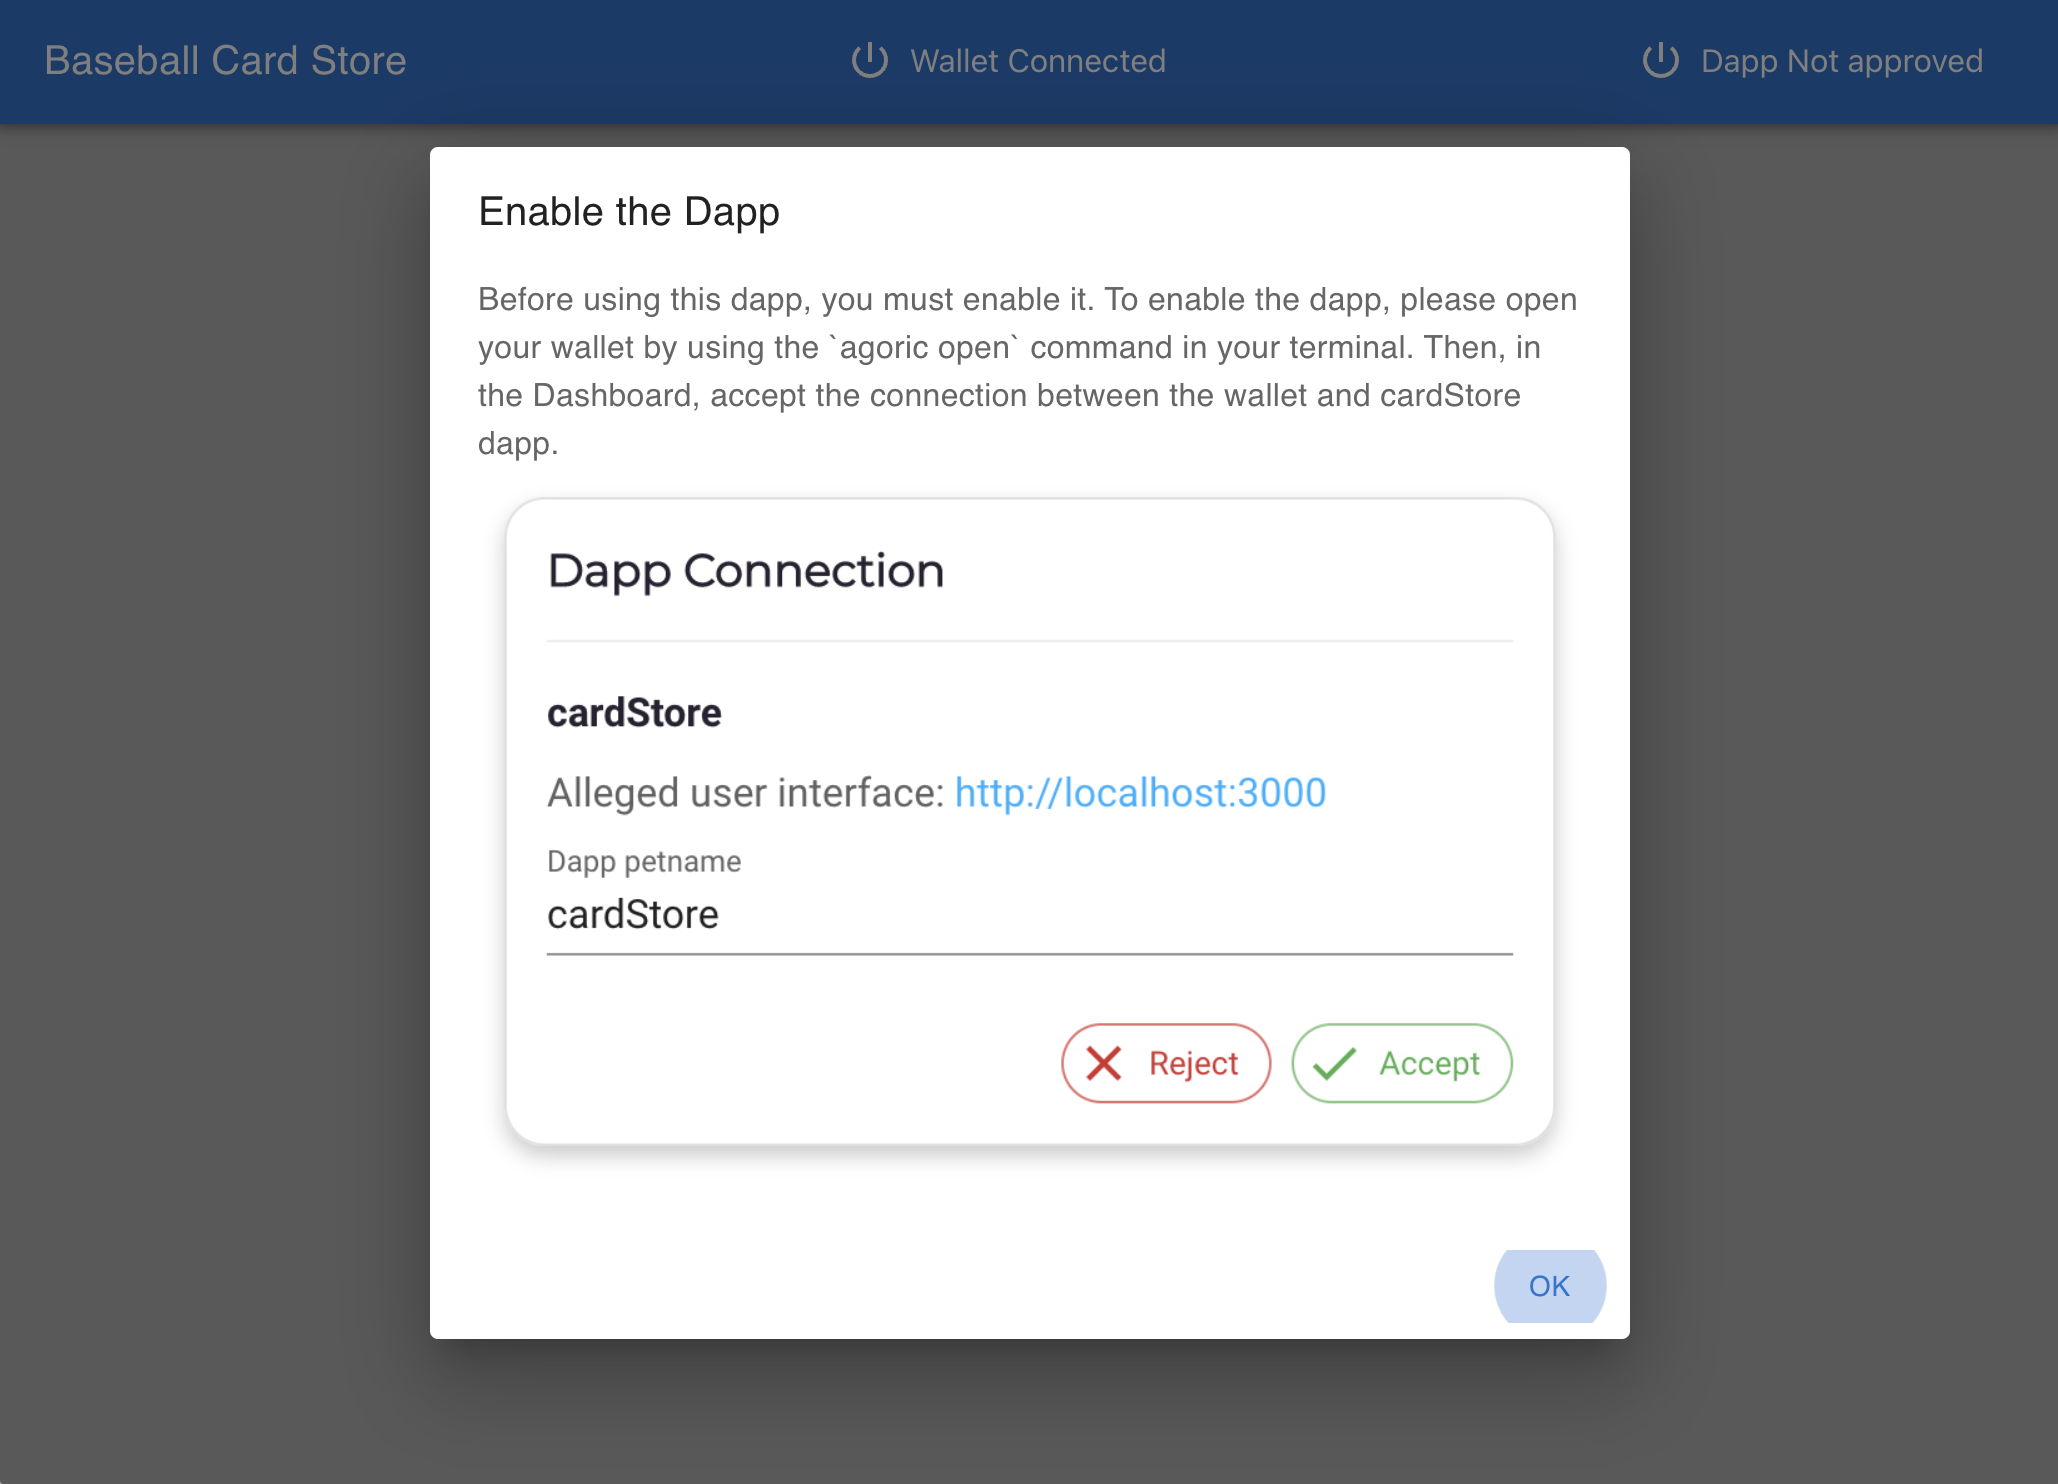
- Navigate back to http://127.0.0.1:8000 (opens new window) and accept the Dapp's request to connect to your wallet.
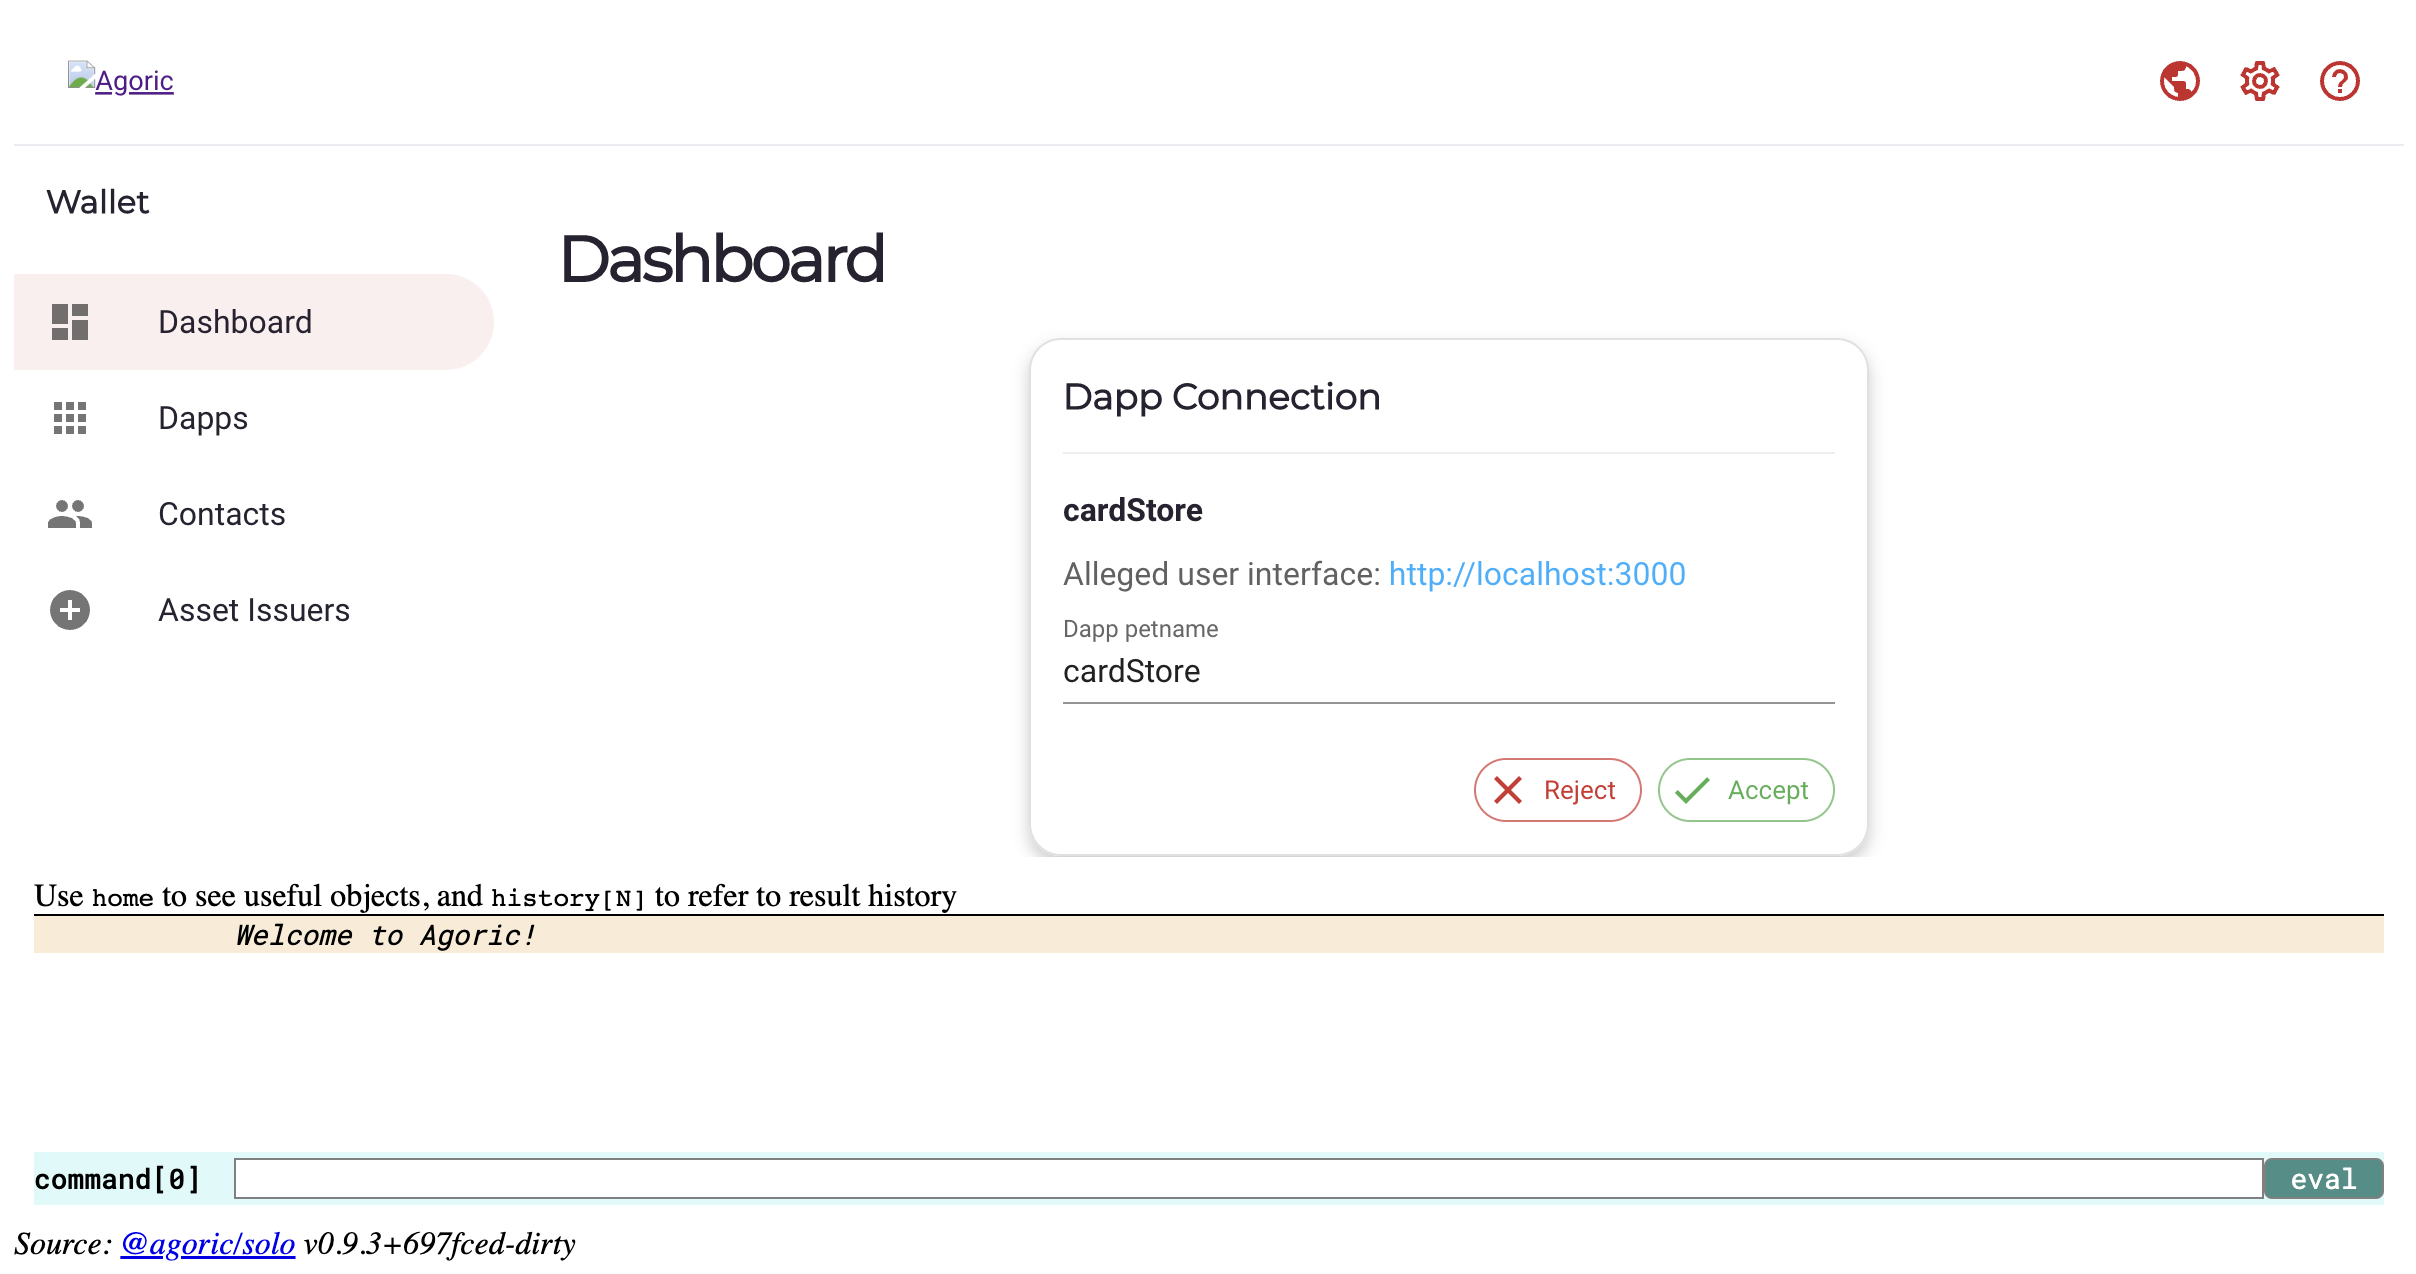
- Navigate back to the Dapp (opens new window) and it should load the baseball cards to bid on
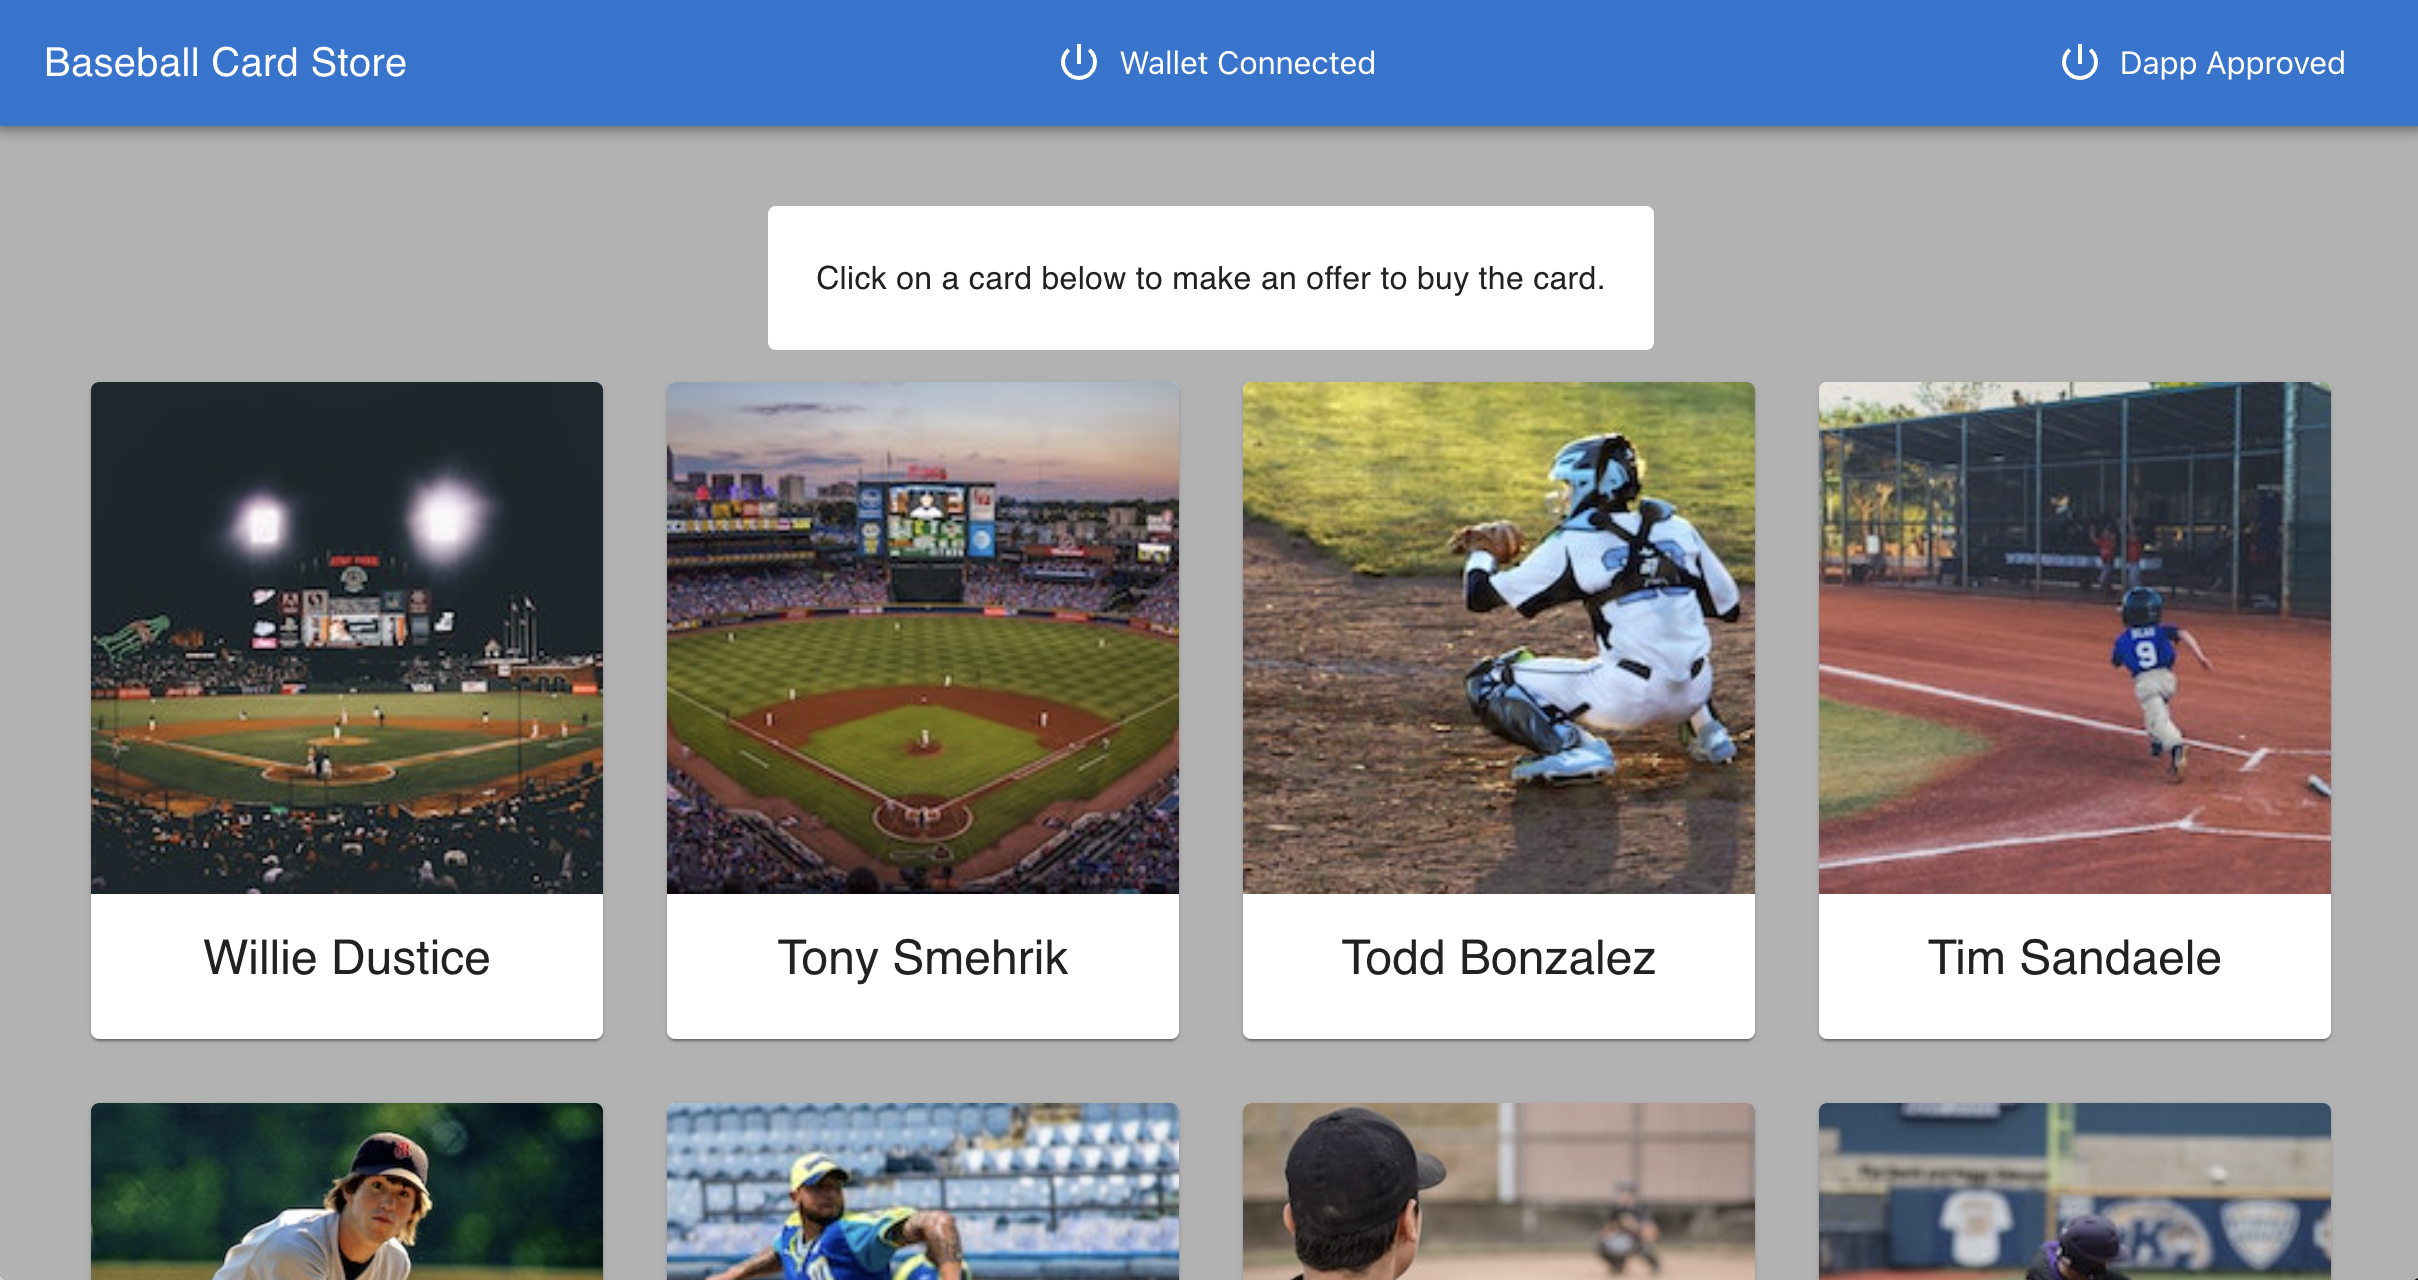
# Use the Dapp to bid on and buy a baseball card
In the Dapp, you should be able to click on a baseball card to
BIDon it in an action. EnterBid ammountto submit an offer to buy the card.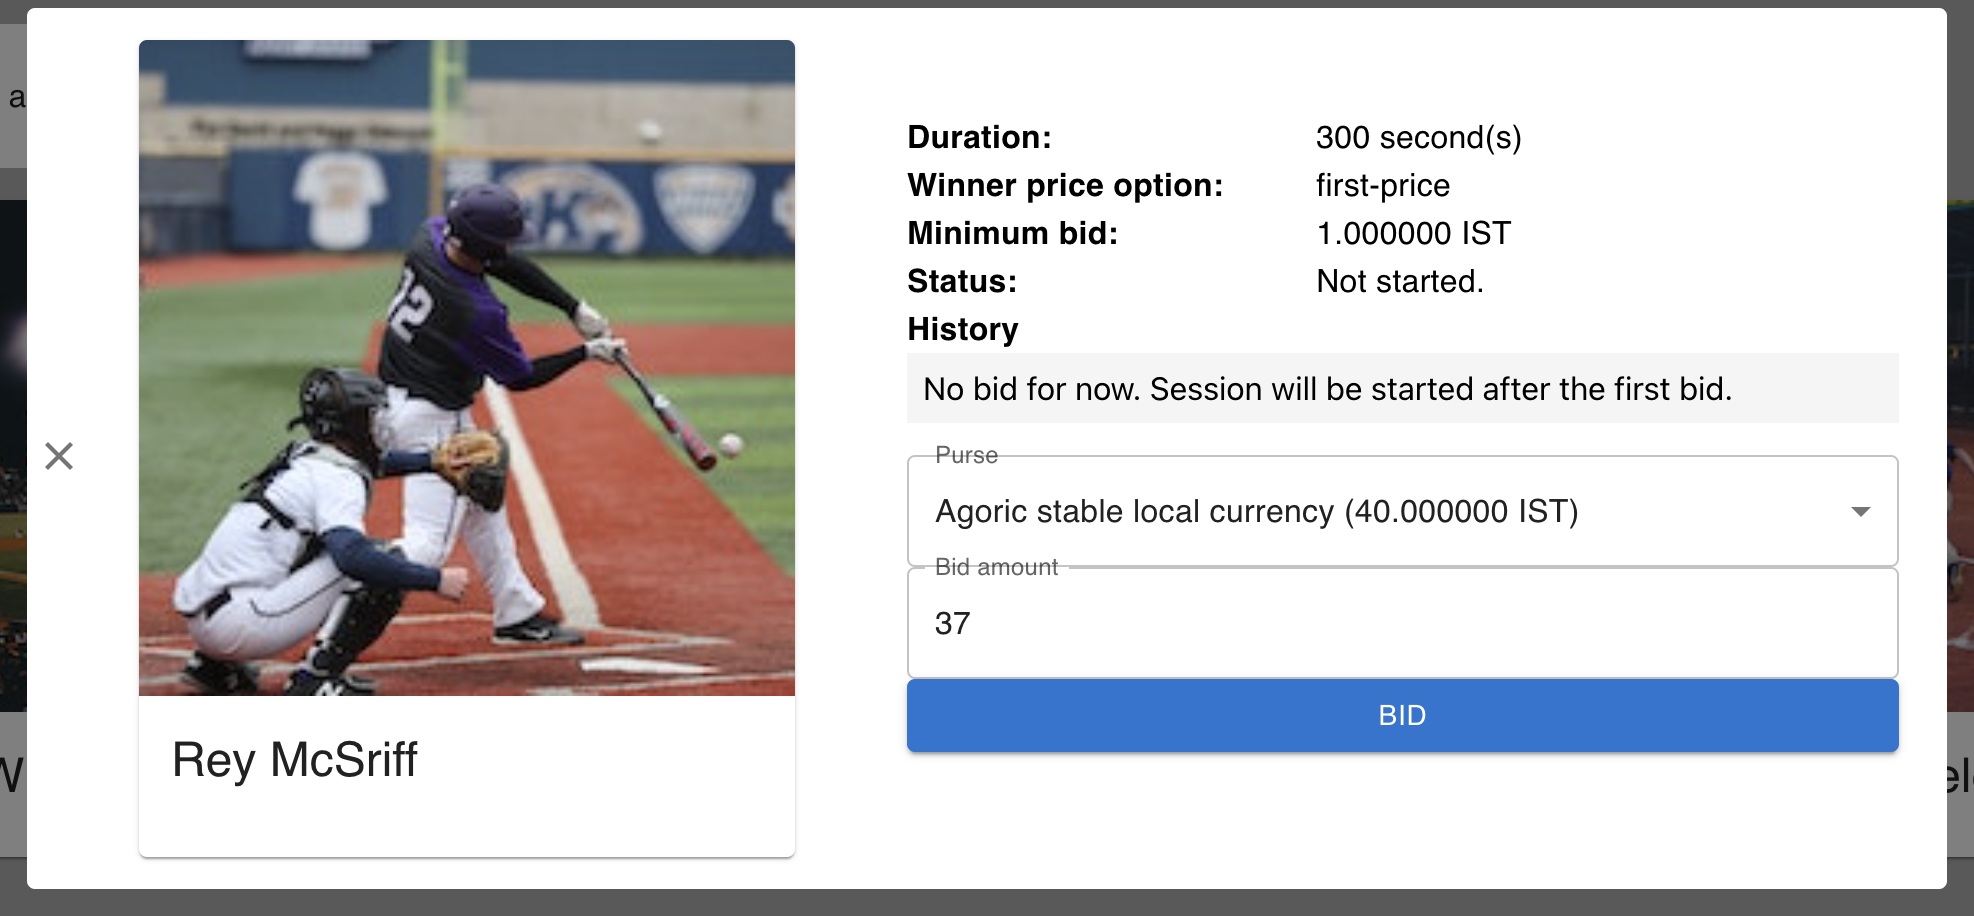
In the wallet,
ApprovetheProposedoffer to bid on a card.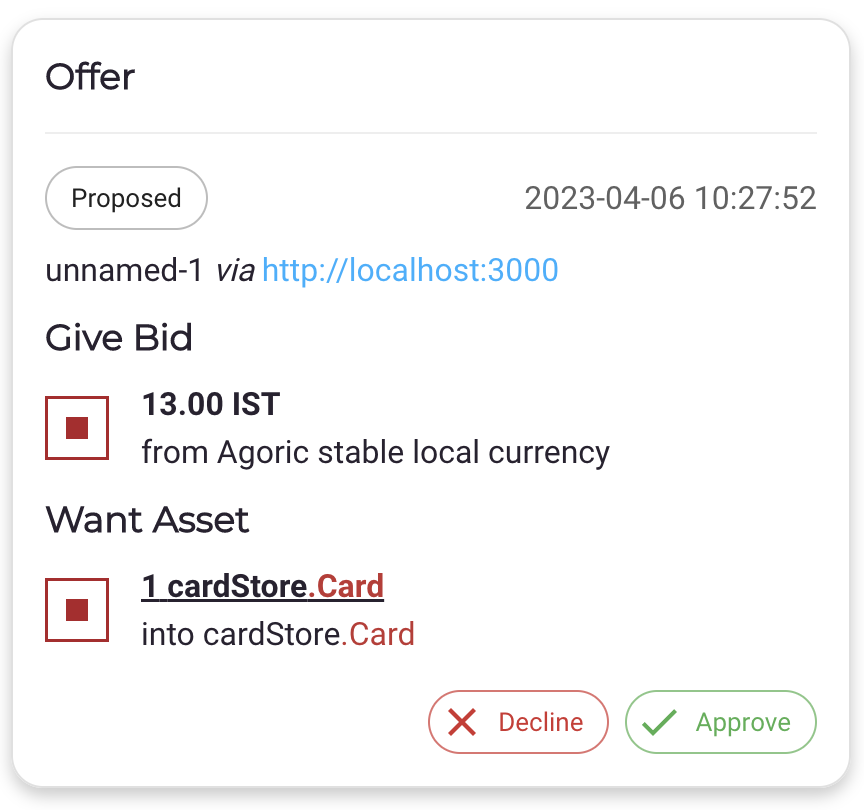
In the wallet, the offer will be in a
Pendingstate while the auction for the card to complete. The auction takes up to 300 seconds.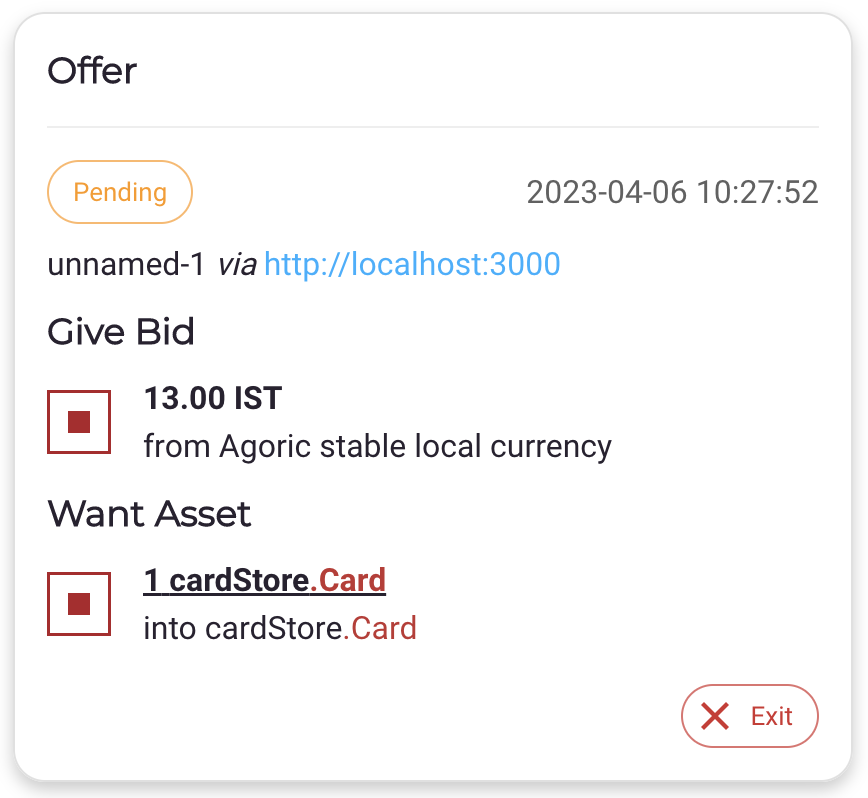
In the wallet, your offer will transition to an
Acceptedstate when the auction ends. YourcardStore.Cardpurse will now contain a card.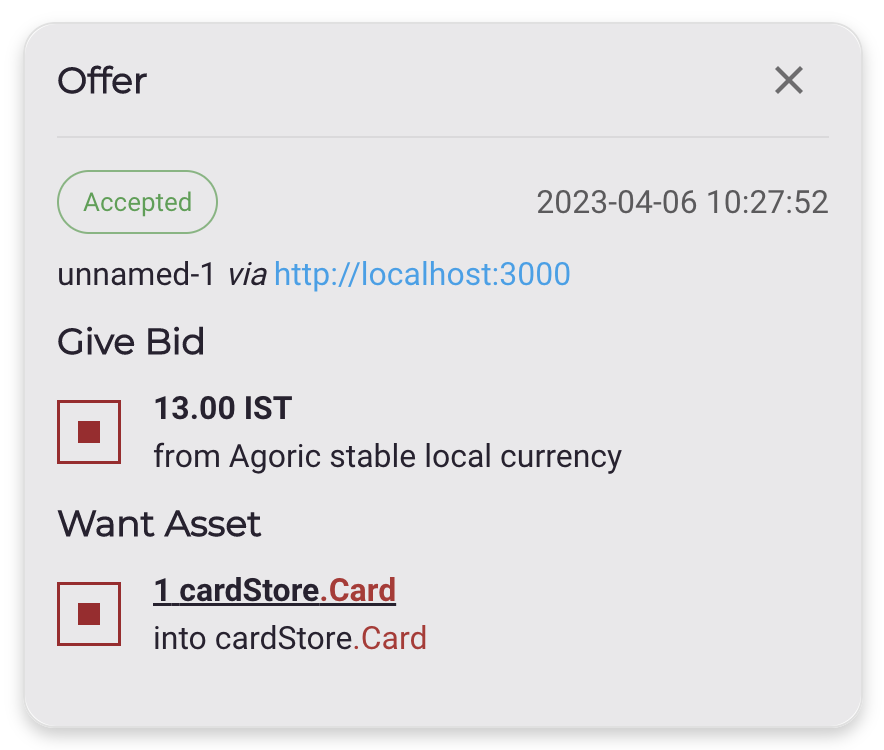
Visit the wallet UI documentation for more information.